

how to draw a camel easy
The camel is an even-toed animate being that is most commonly seen wandering around deserts. Contrary to pop belief, a camel's hump does not concur h2o simply it really stores fat.
This is the reason why camels tin can go without eating for long periods of time.
We rarely run into a camel in existent life because they live in hot and dry places, thus nosotros decided to create a drawing tutorial for it so we can all appreciate its beauty up close and personal.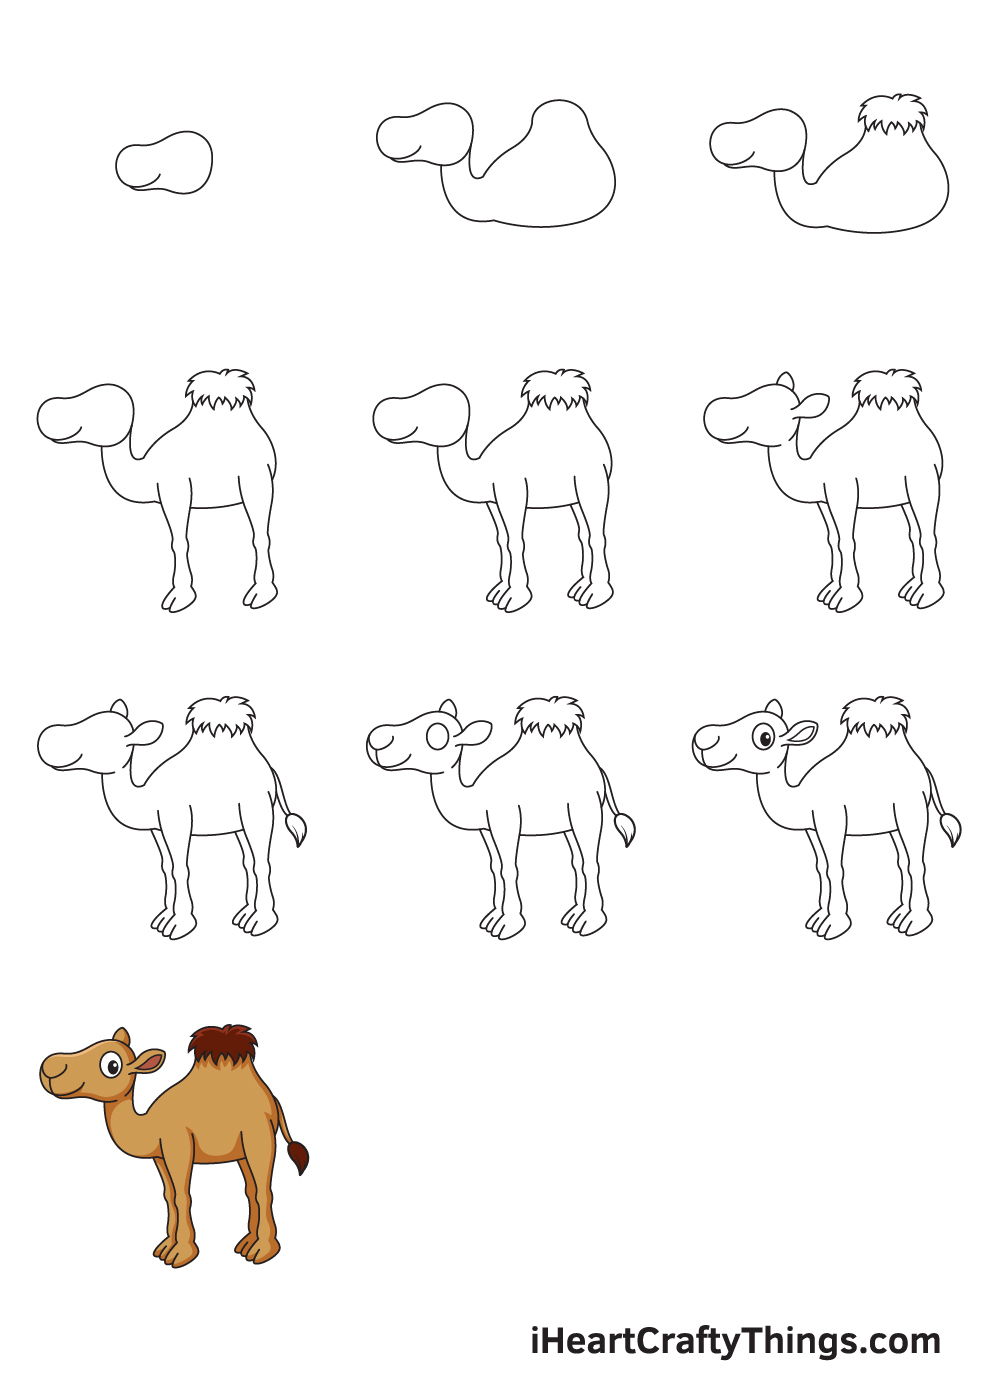
Nosotros have created a step by step on how to describe a camel, summed upwards in 9 quick and easy steps.
What's more, each teaching comes with an illustration to serve as your visual guide as yous follow the steps one by one.
Take fun drawing an awesome camel!
What'due south in this Blog Mail
- How to Draw a Camel — Let's become started!
- Step i
- Step 2 — Outline the Camel's Head and Torso
- Step iii — Add the Hump on the Body of the Camel
- Stride four — Next, Depict the Right Legs of the Camel
- Step five — Consummate the Camel's All Four Legs
- Step half-dozen — Then, Draw the Pair of Ears of the Camel
- Step 7 — Afterwards, Add together the Tail of the Camel
- Step 8 — Add Details on the Face of the Camel
- Footstep 9 — Now, Draw the Camel's Facial Features
- Your Camel Drawing is Consummate!
How to Draw a Camel — Allow's get started!
Step 1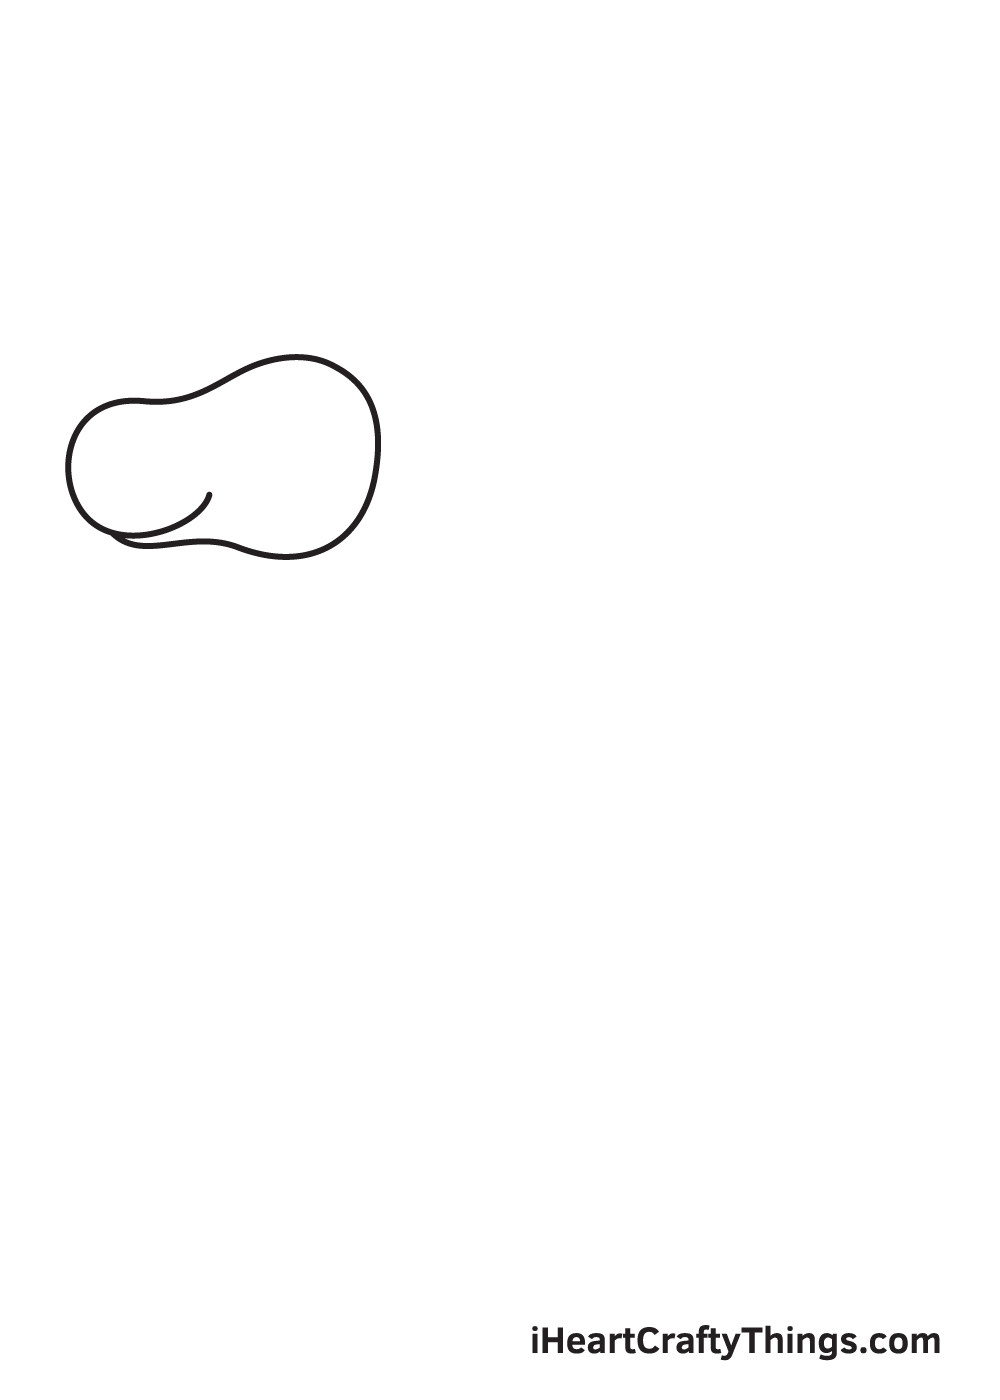
Start by cartoon an irregular sideways oval shape on the upper left side of the paper. The oval should accept a bigger right side compared to its left side.
This forms the outline of the camel's caput. Don't forget to draw a curved line overlapping on the left lesser part of the outline to form the oral fissure of the camel.
To ensure that the camel will be drawn in the center, you can create reference lines by drawing an intersecting horizontal and vertical line across your paper.
These guidelines should divide your paper into iv rectangular spaces. The infinite on the upper left corner of the newspaper marks the spot where you should depict the outline of the camel'south head.
Stride two — Outline the Camel'south Head and Trunk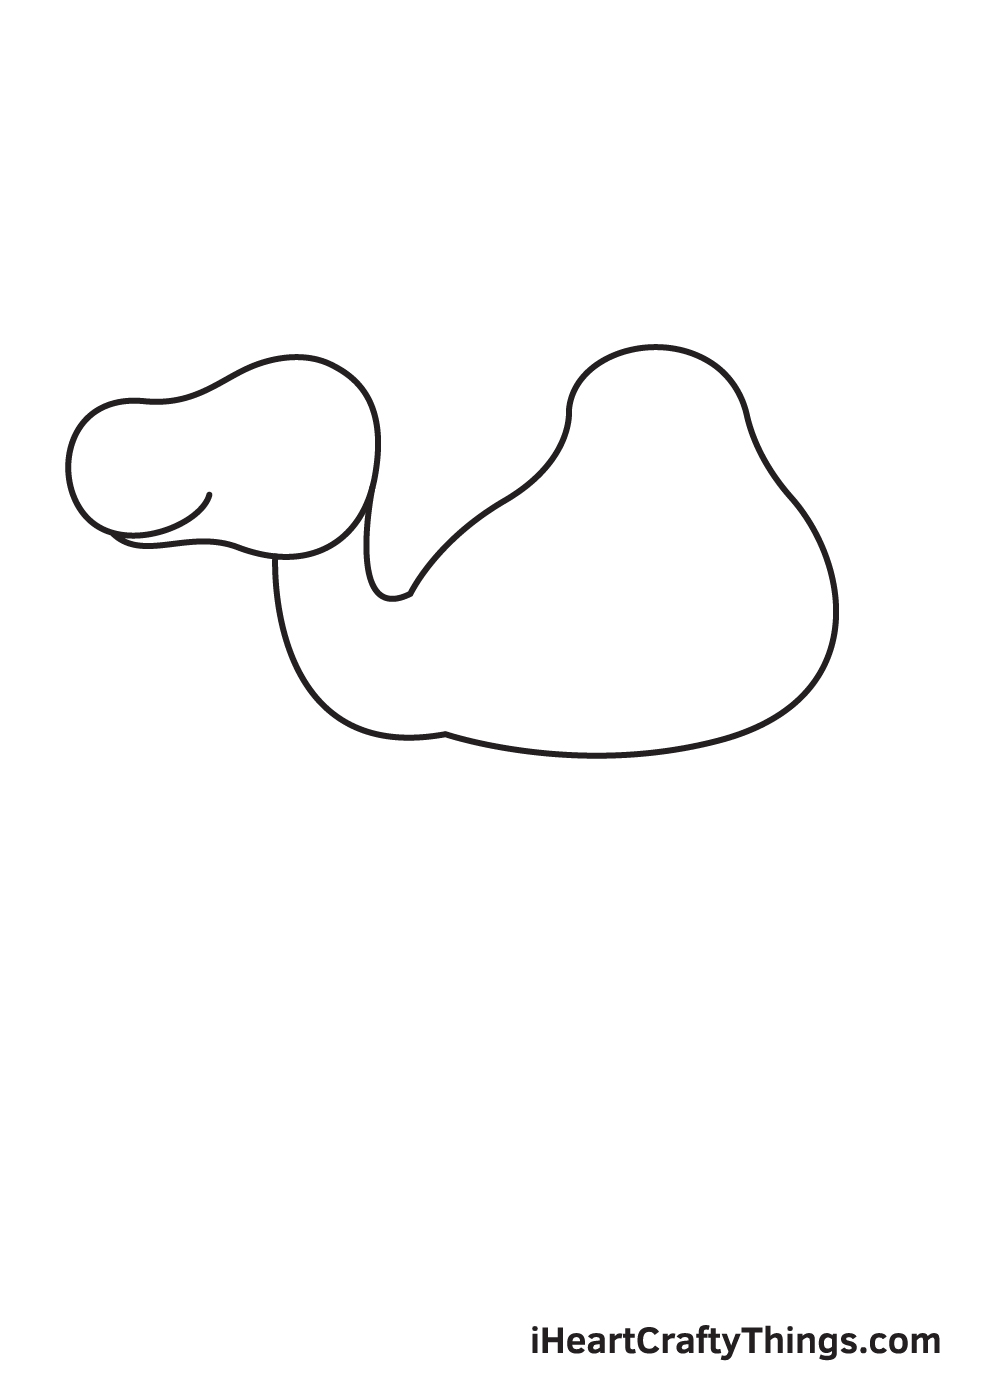
Draw an elongated, narrow curved shape underneath the head to grade the long neck of the camel.
Then, describe the shape of the body with an enormous bump at the superlative—one of the camel's about distinct physical features!
Remember, use light strokes when drawing the outline of the camel's head and body. Avert pressing downwardly too hard with your pencil and so y'all can easily remove some parts of the outline you lot may no longer need afterward on.
Footstep three — Add the Hump on the Body of the Camel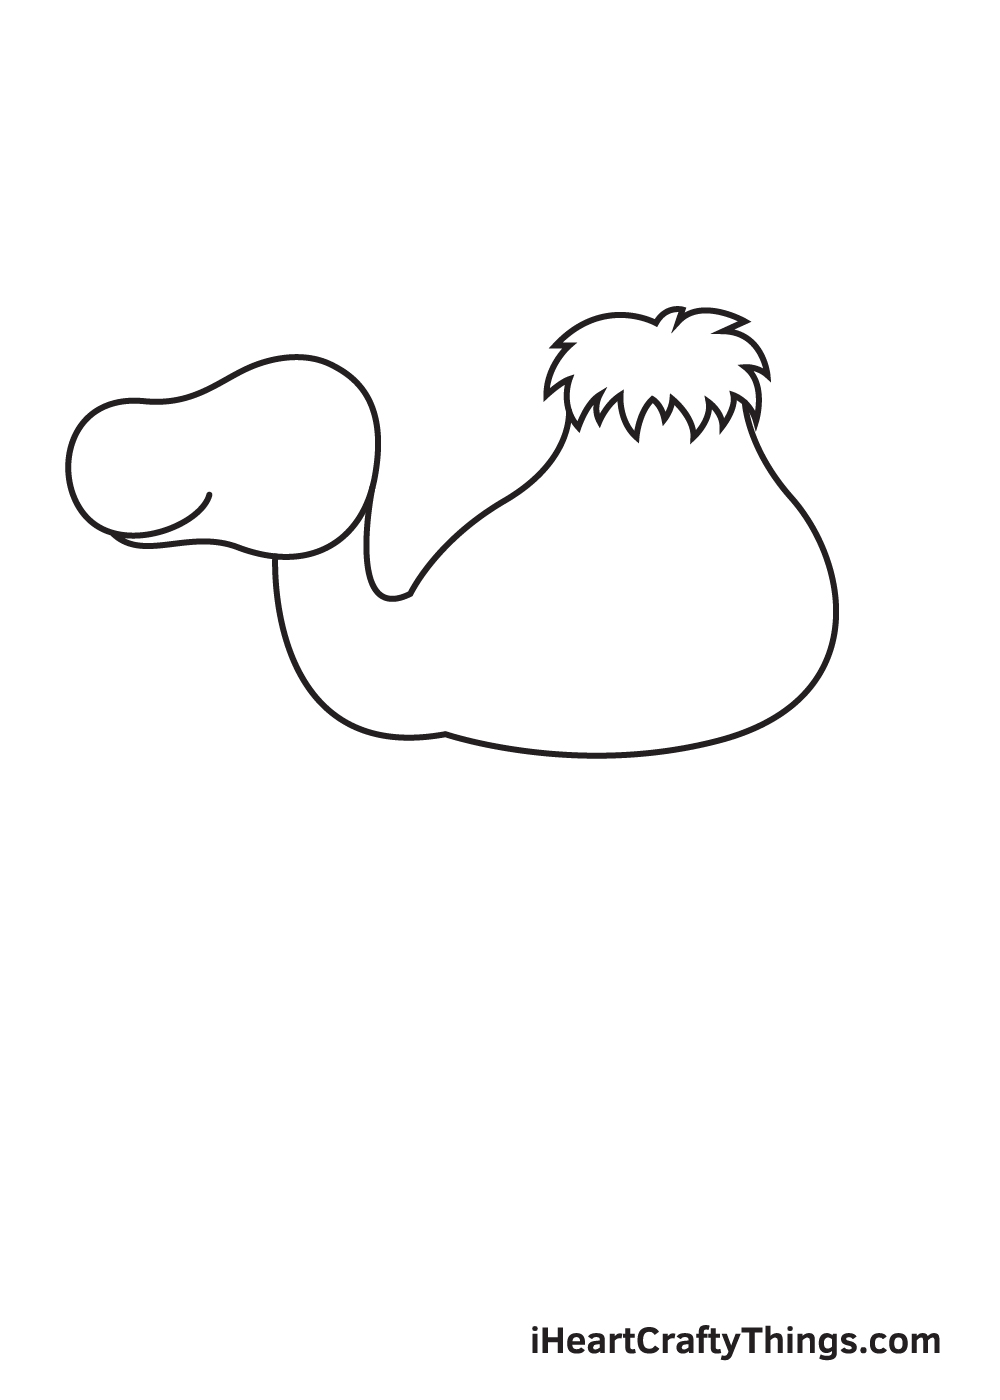
Add a bunch of hay or grass on the bump on the camel'due south body. This makes information technology easier for people to ride on the back of a camel without hurting themselves.
The hay laying atop of the camel'due south hump tin be formed past but drawing multiple pointed shapes. The pointed shapes should be clumped together side by side forming a sideways oval shape.
Footstep 4 — Next, Depict the Right Legs of the Camel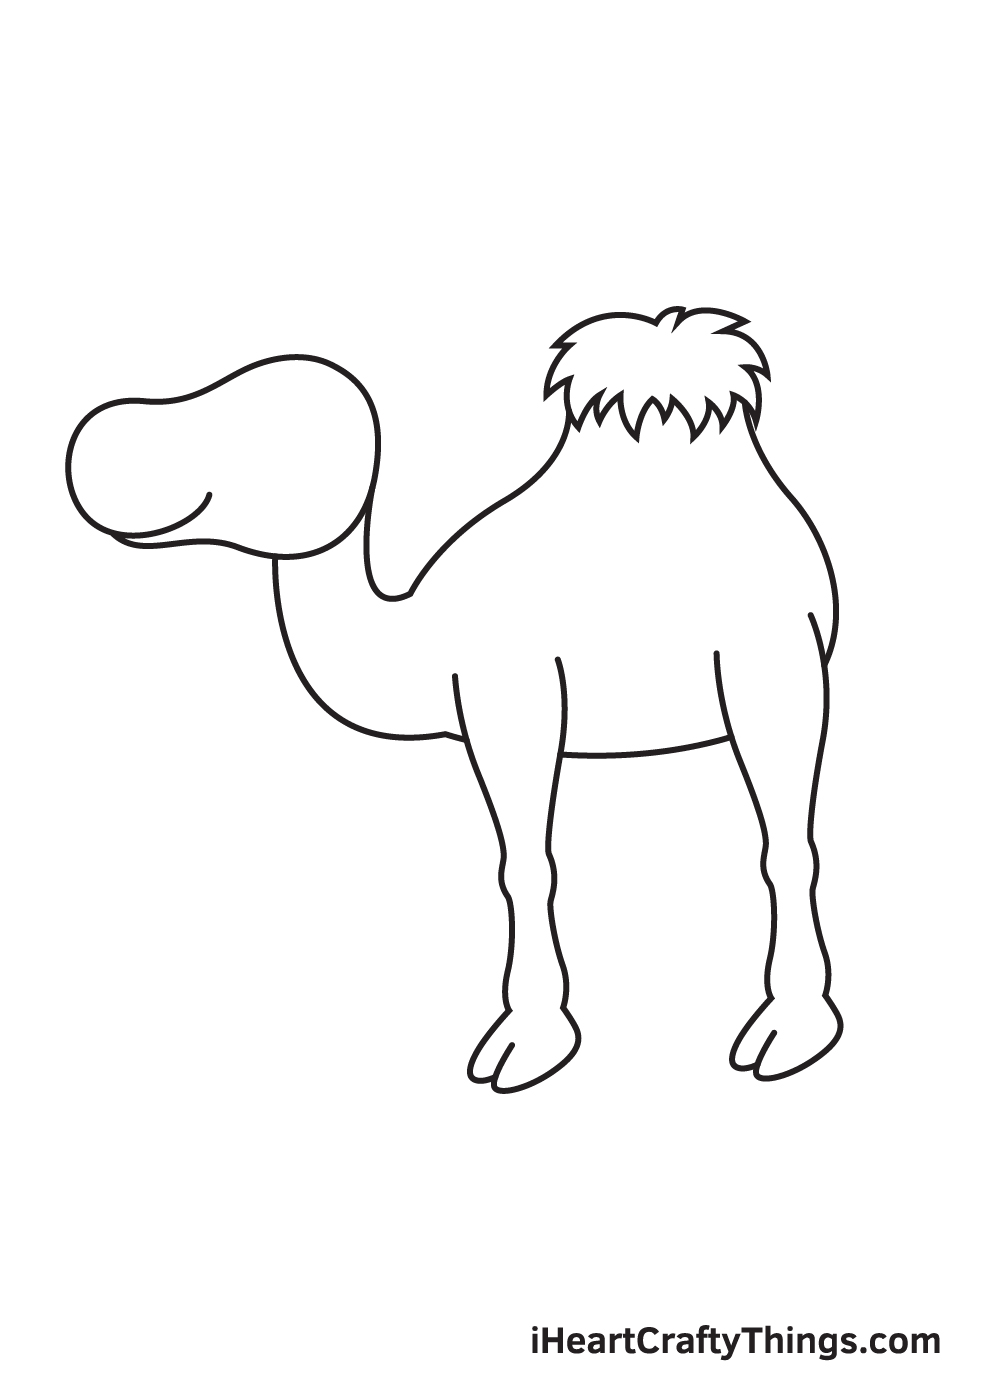
Draw two legs with hooves on the right side of the camel's torso. This forms both the correct front leg and the right hind leg of the camel.
Brand sure to add a crash-land in the middle of each leg. This imitates the camel's bony leg structure, thus making your drawing wait realistic!
After drawing the camel's right legs, don't forget to erase any lines from the outline overlapping within the legs. This helps keep your drawing more refined, and almost importantly, neat and tidy!
Footstep 5 — Complete the Camel'south All Four Legs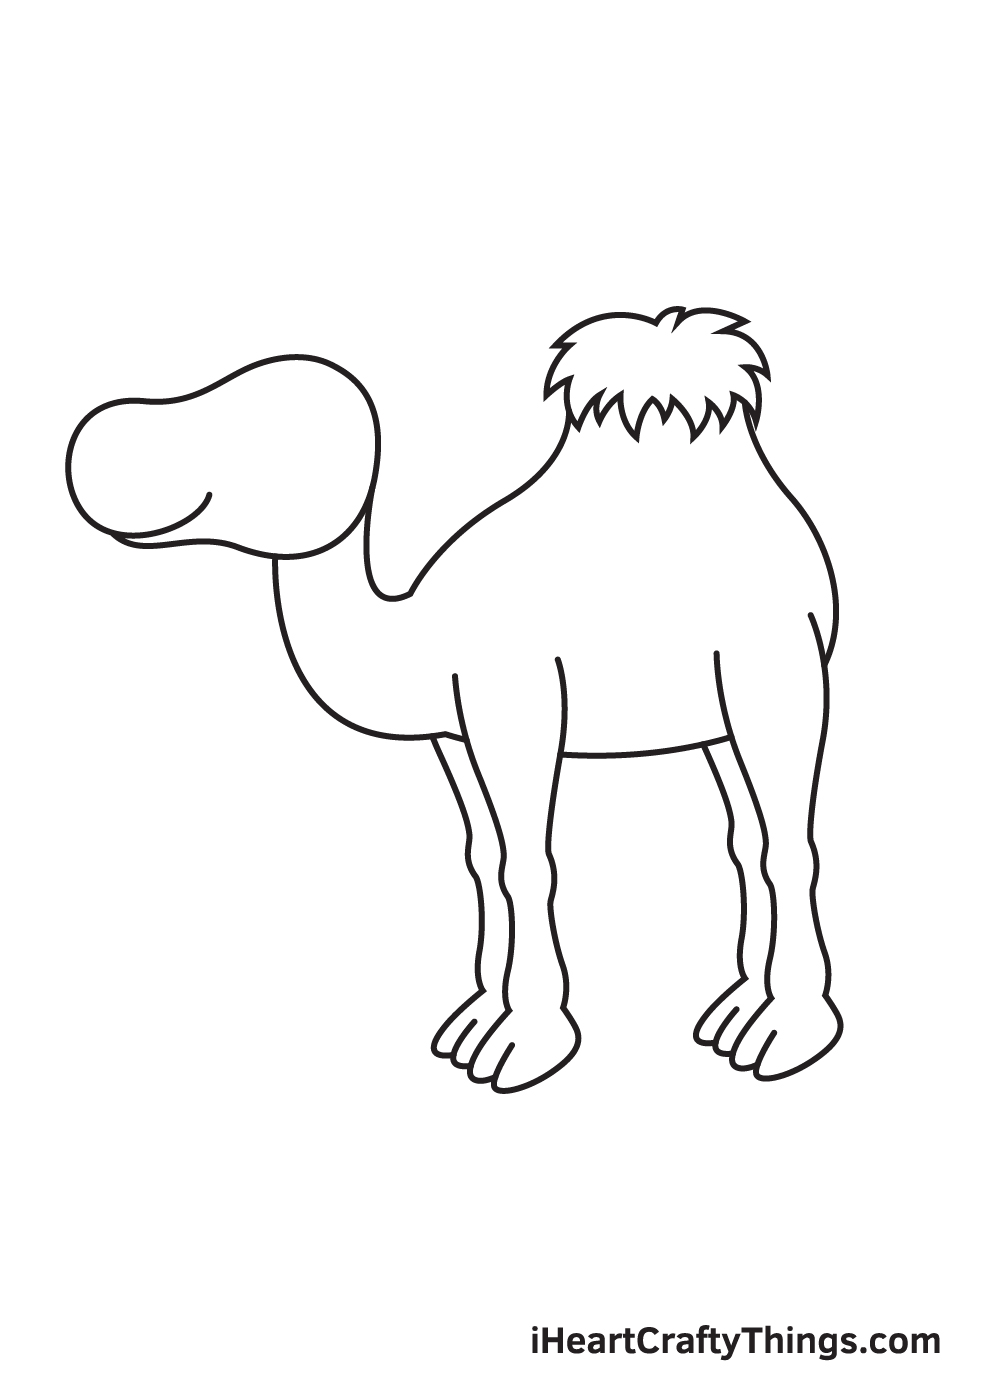
Repeat the previous step on the opposite side of the camel's trunk. This creates the left forepart and hind legs of the camel, thus completing its four legs!
Since the camel is facing towards the left side, its left legs are only partly visible, every bit shown in the illustration above.
Step 6 — And then, Draw the Pair of Ears of the Camel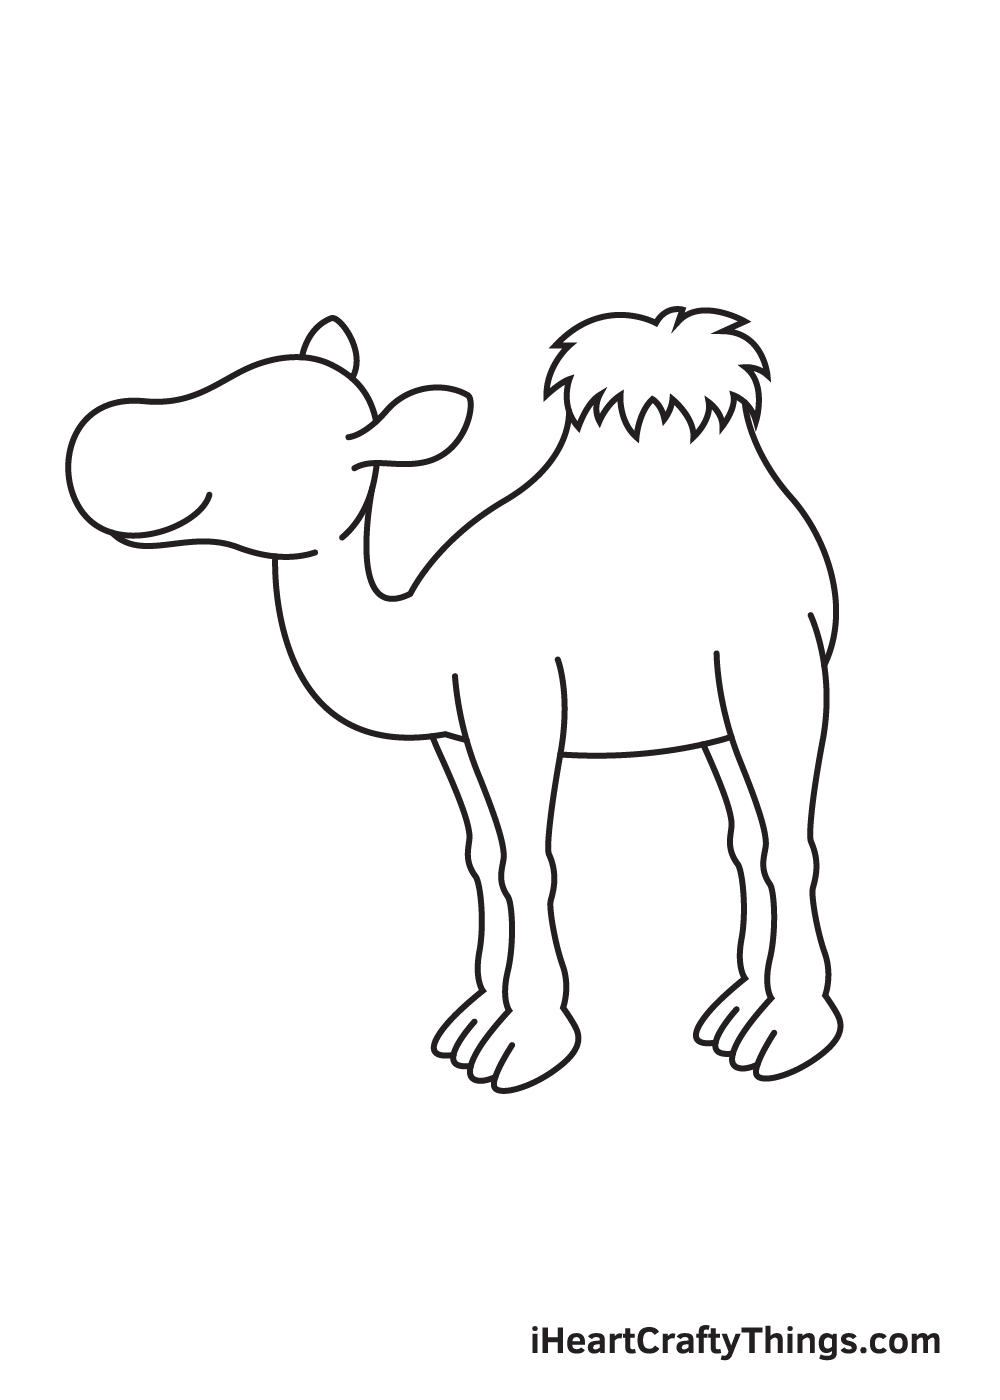
Draw an oval figure with slightly pointed ends on each side of the camel'south head. This creates the camel's pair of ears.
Camels typically take short, upright ears, so keep that in mind when drawing the ears. Brand sure you erase some parts of the head'due south outline overlapping within the ears as well!
Step 7 — Later on, Add the Tail of the Camel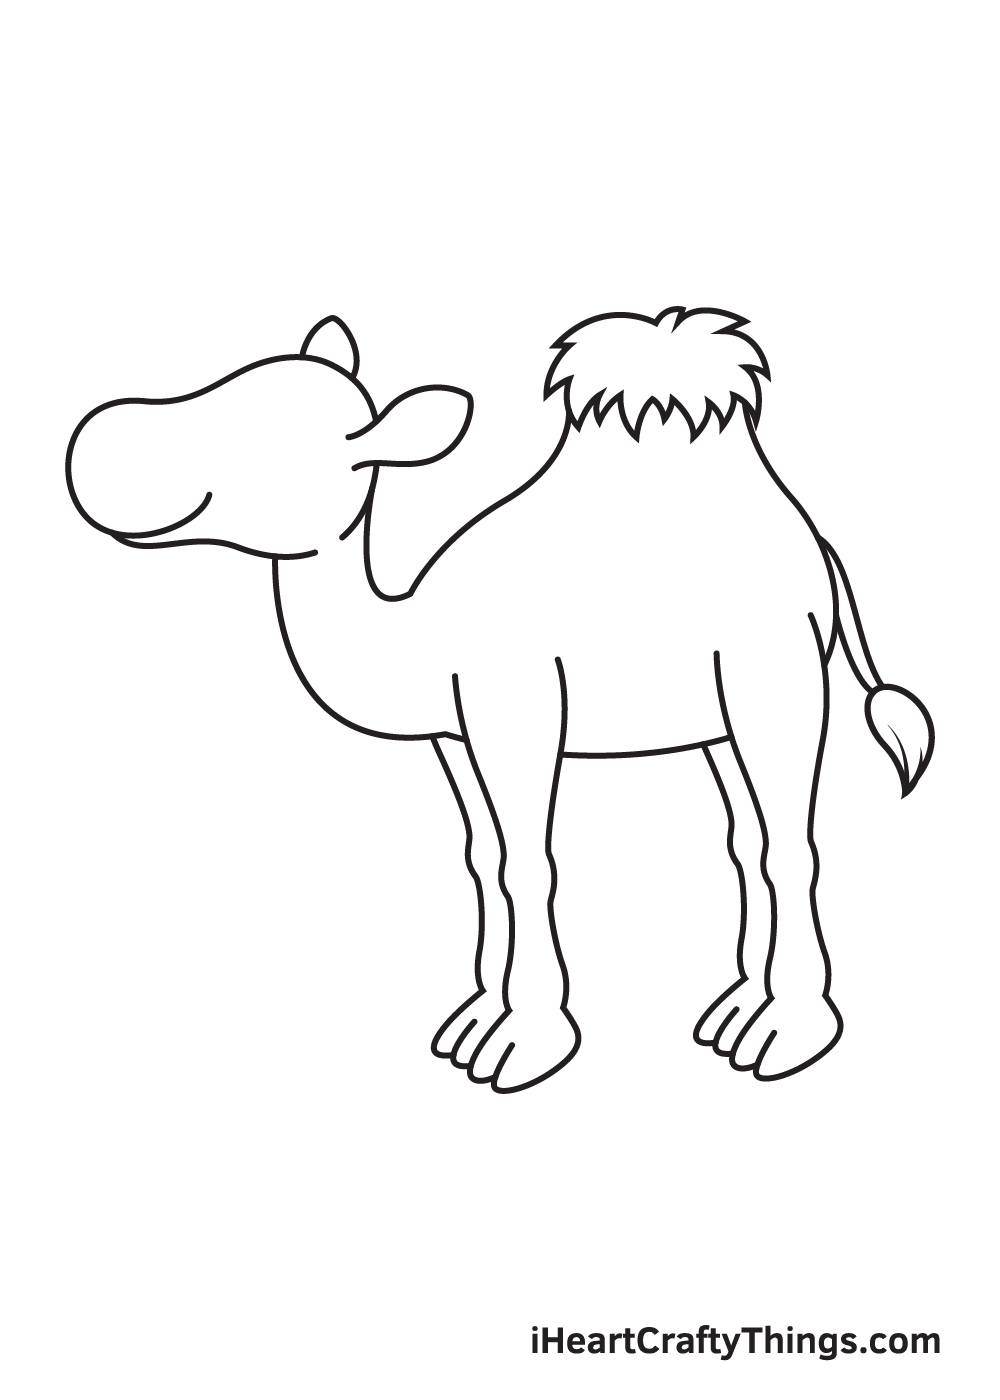
Describe an elongated, narrow line figure with a hairy tuft at the end directly connected to the lesser back of the camel. This forms the camel's tail.
The tail can be formed past simply drawing two parallel lines while the hairy tuft is equally easy every bit drawing an upside down droplet effigy. Don't forget to add thin line strokes on the pointed end of the hairy tuft to add together texture!
Pace 8 — Add Details on the Face of the Camel
Depict a large standing oval shape on the camel's face near its ear. This forms the outline of the camel'due south eye.
Afterwards, depict an upward curve shape with a brusque slightly curved vertical line at the bottom. This creates the olfactory organ of the camel right above its mouth.
Step 9 — Now, Draw the Camel's Facial Features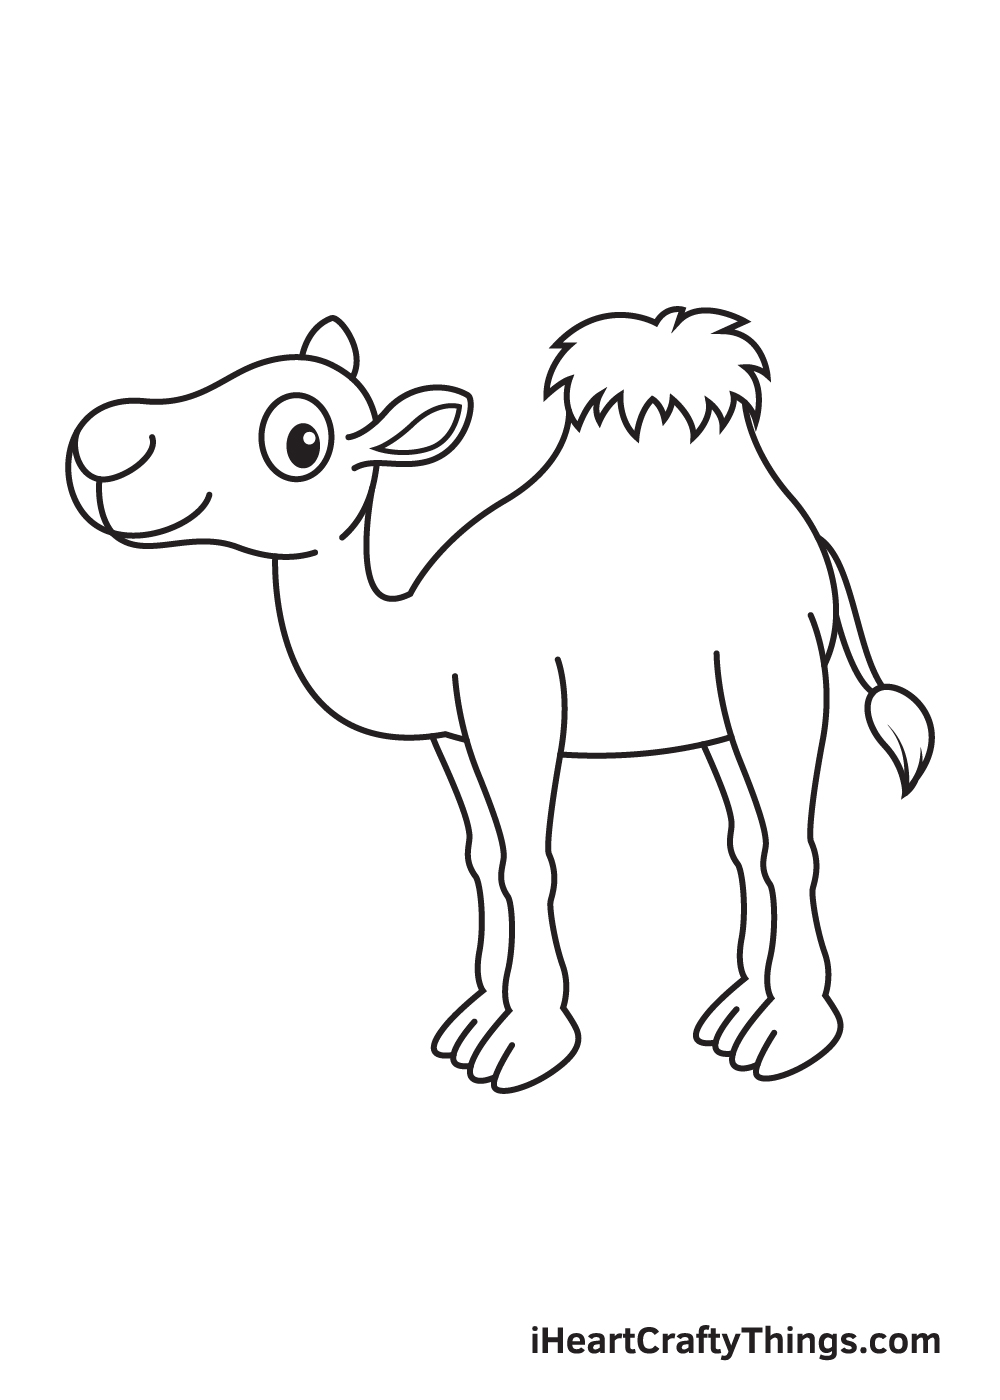
Complete the look past cartoon the camel's middle and within ear!
Continue past drawing a small oval shape inside the outline of the optics that we drew in the previous footstep. And so, describe a smaller circumvolve within the oval shape.
Shade the entire oval while leaving out the tiny circle unshaded. This creates a dramatic "sparkling optics" effect.
For the inside ear, simply draw a effigy within the ear following its outline. And, there y'all have it!
Now that we've successfully fatigued a camel, it'southward time for the most heady function. Finally, we'll be coloring the camel!
Camels primarily have light dark-brown coats with a hint of greyish hue. You tin can opt to colour the camel using its original color or apply a dissimilar colour! We recommend doing the latter so you lot can customize your artwork.
You can also use more than one-colored to create a multi-colored camel. The colors you lot volition be using is entirely upwards to you! Have fun playing with colors!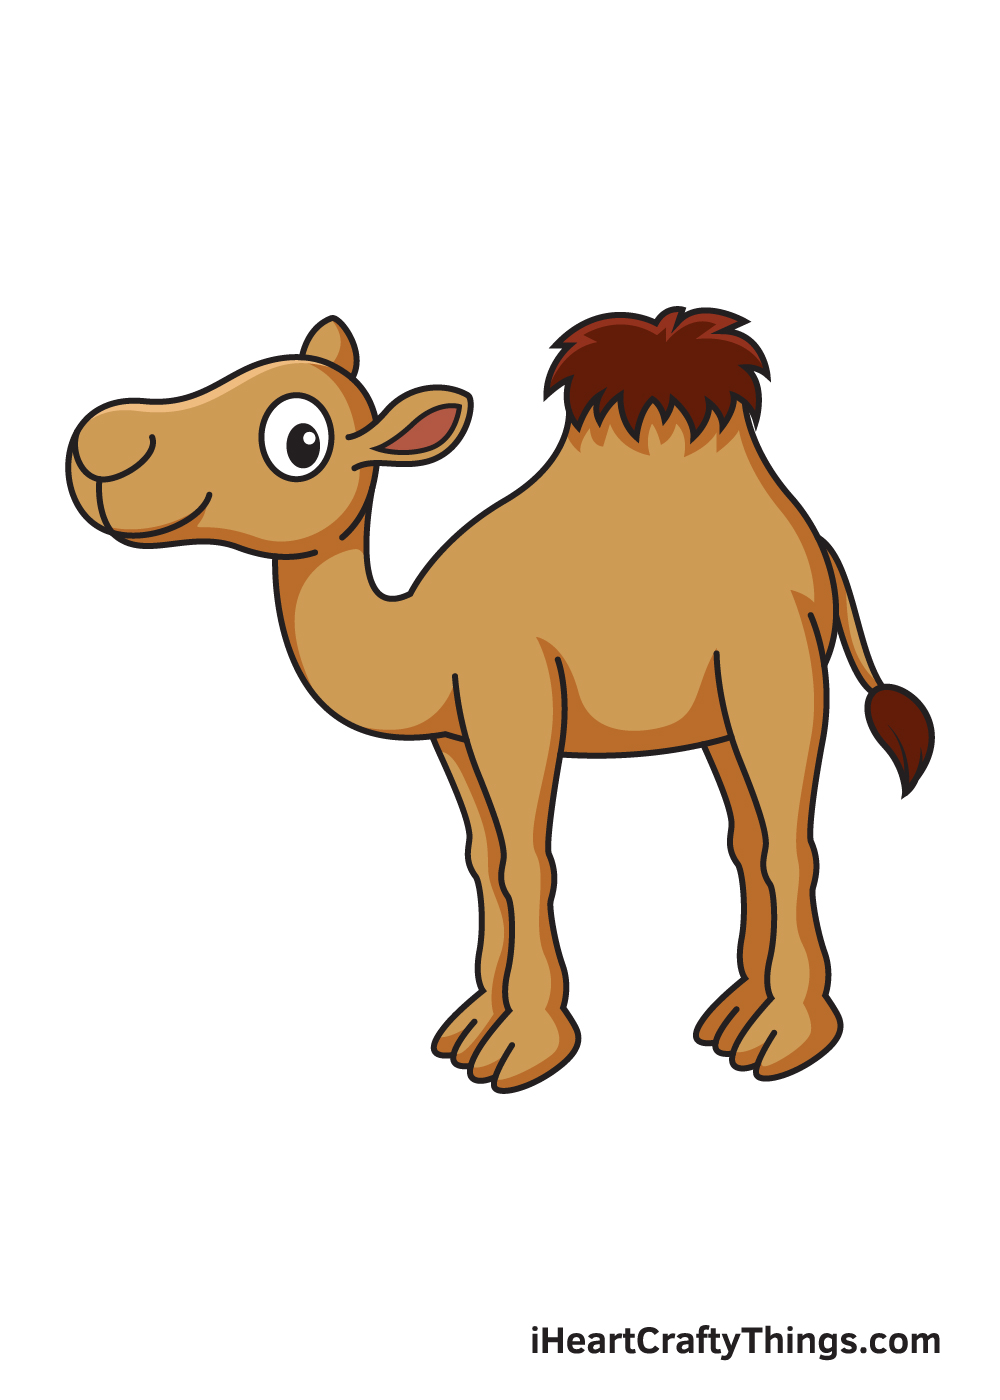
Your Camel Drawing is Complete!
Hopefully, y'all enjoy this step-by-step camel drawing tutorial. What kind of animal would you lot like to depict side by side?
Let usa know and we'll do our all-time to create a cartoon tutorial for it. Check out our "How to Draw" itemize to explore many more than fun cartoon tutorials similar this!
As shortly as you're finished cartoon and coloring a camel, don't forget to show off your masterpiece!
Accept a photo of your artwork and share it on our Facebook page and on Pinterest. While you're at it, we hope you have the fourth dimension to like our Facebook page too!
We tin can't expect to encounter your incredible camel cartoon!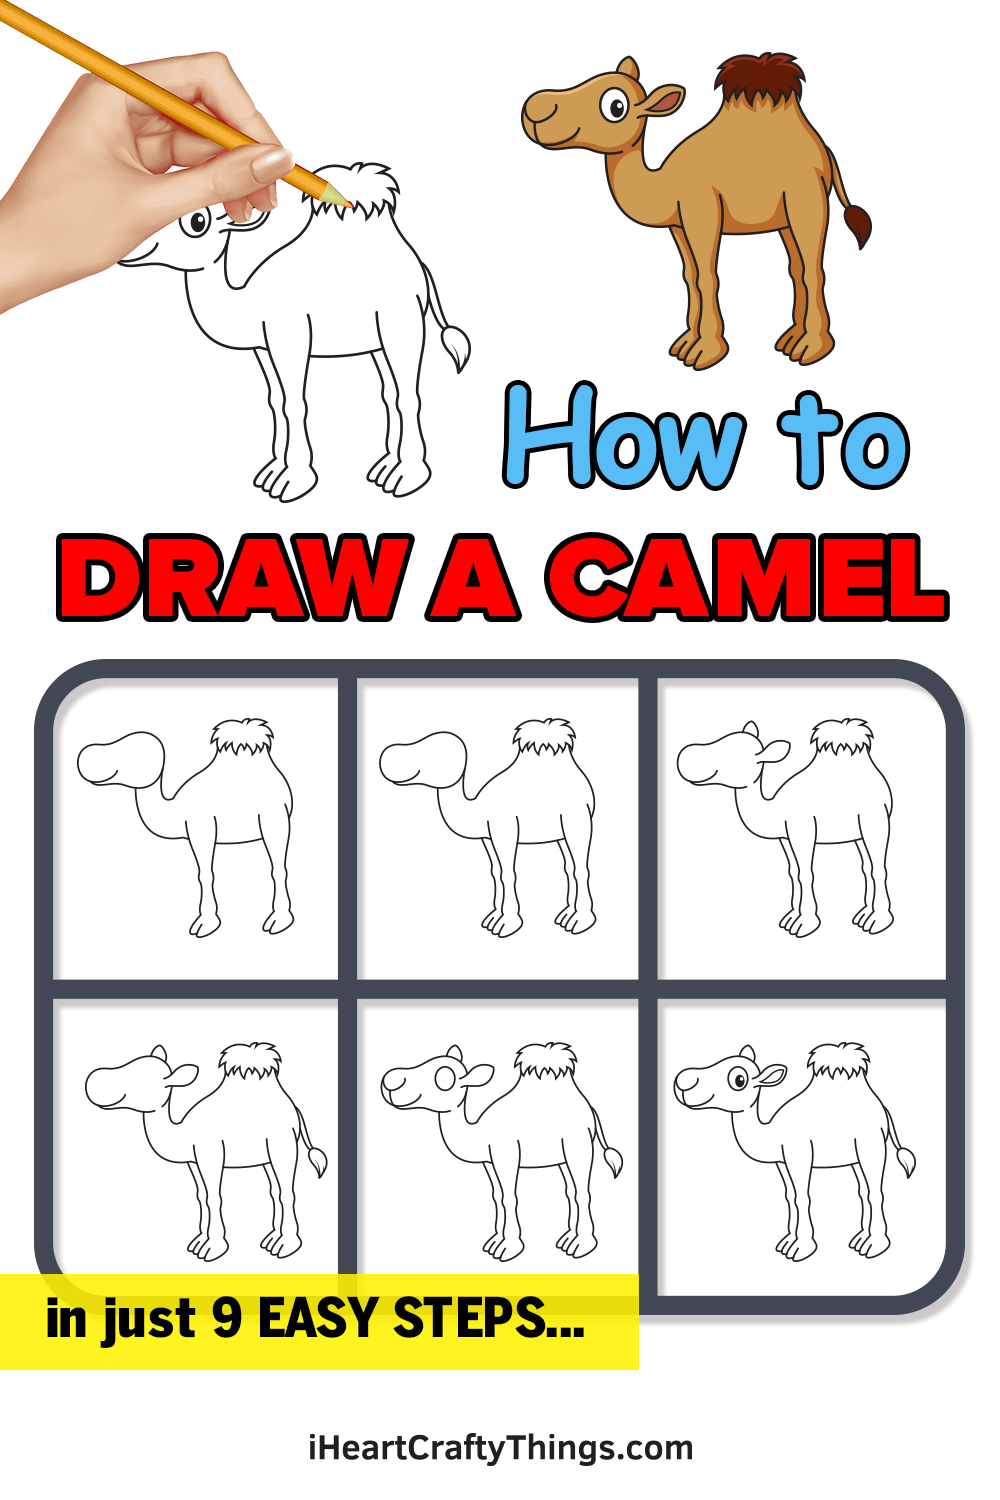

Source: https://iheartcraftythings.com/camel-drawing.html
Posted by: mannsdockly.blogspot.com
0 Response to "how to draw a camel easy"
Post a Comment